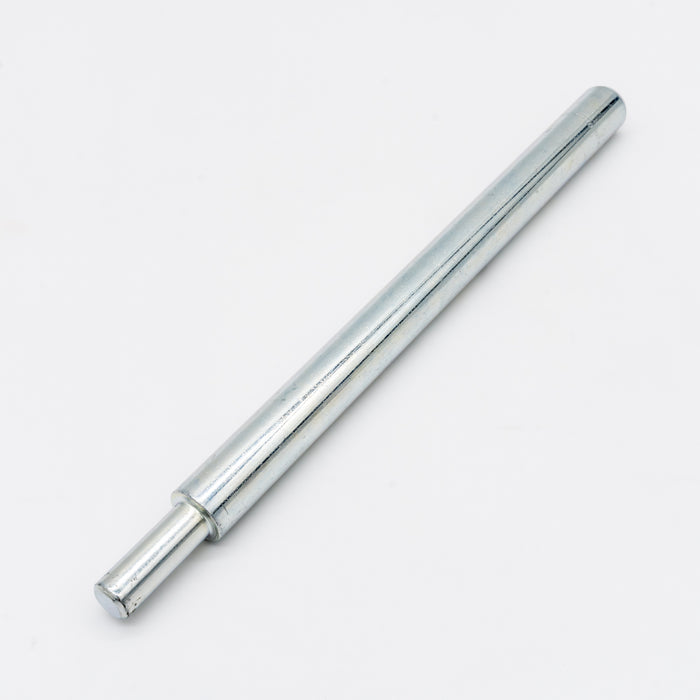
Setting tool for M10 drive-in anchors
Setting tool for M10 drive-in anchors
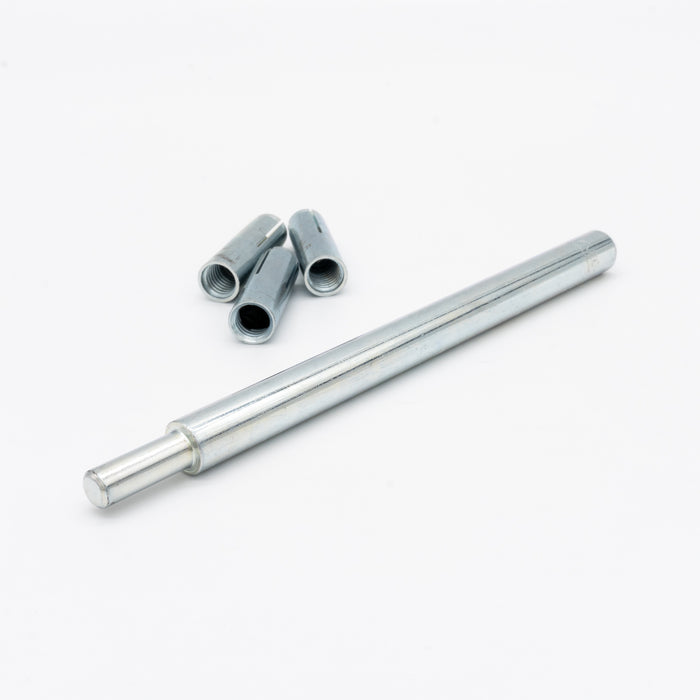
The setting tool is needed to anchor the impact anchor in the borehole.
How a drive-in anchor works:
After being inserted into the borehole, the tip of the drive-in anchor is split using a setting tool. The screw or threaded rod is then screwed into the internal thread.
Instructions for use:
Drill a hole. Clean the drill hole with a brush and/or a blower. Insert the impact anchor to the effective anchoring depth. This is reached when the expansion sleeve does not protrude above the concrete surface. The anchor is anchored by striking the cone with the setting tool. It is properly set when the setting tool rests on the sleeve. Screw the anchor rod, threaded rod, or screw into the thread. (Never apply more torque than permitted in the technical data table.)
Technical data for the impact anchors:
- M 10
- Drilling depth [mm] (anchoring depth, setting depth) 44
- Borehole diameter [mm] 12
- Recommended load per anchor in uncracked concrete [kN] incl. partial safety factor 3.0
- Torque during anchoring 15
- Thread diameter [mm] 10
Features and assembly
Characteristics:
- Material: Galvanized steel
- metric internal thread M10
- thick-walled design (panel thickness approx. 2 mm)
- Nut height (including plate): approx. 12.0 mm
- Required pre-drilling diameter: approx. 12 mm
- The special insert nut is fastened with 2 chipboard screws
(approx. 4 mm diameter). - The climbing holds are attached using a standard M10 screw
Option with chipboard screws,
properties of the chipboard screws:
- Fully threaded screw with an attractive pan head for universal
fastening of metal fittings or plastic brackets in wood
in dry indoor or damp areas. - Ideal power transmission thanks to RW drive
- More power due to a larger contact area on the bit
- Increased stability, one-handed operation, precise positioning thanks to
the plug-in effect and perfect bit fit - ASSY 4 PH Steel galvanized Full thread Pan Head RW
- SHR-PANHD-HO-RW20-(A3K)-5X20/18, ASSY
4 PH
Conclusion:
The "PROFESSIONAL" special T-nut offers a
high-quality alternative to the standard T-nut. It also has advantages
over other special T-nuts that
are mounted with four chipboard screws. This is due not only to the halved
installation effort of the
"PROFESSIONAL" special T-nut, but also to its increased load-bearing capacity. The two holes
for the chipboard screws have a significantly larger diameter than
the four holes in a conventional special T-nut. This allows for
the use of thicker screws when installing the "PROFESSIONAL
," providing optimal stability for your climbing holds.
Installation:
As a first step, create a grid and mark all the locations where the T-nuts will later be installed. For bouldering walls, a 10 cm hole spacing is recommended (95 T-nuts required per square meter) or a 15 cm spacing (45 T-nuts required per square meter), with the second row offset from the row above. Alternatively, you can use exactly as many T-nuts as you have climbing holds. The disadvantage of this method is that you have limited options for repositioning the holds on the wall. Furthermore, if you extend the climbing wall to add more T-nuts, the entire panels would have to be removed. After marking the locations for the T-nuts, drill 12 mm holes at these points. The T-nut is then inserted into the panel from the back through these holes. For a better hold, apply a special wood-to-metal adhesive to the T-nut.